Main House RenovationAfter the exterior work was completed, I took a while off from renovating and hunkered down for the winter. At that time, my old college roommate Tra was living in the back of the house and using the barn as a studio. Come springtime, Tra needed some cash, and I agreed that he could work on the interior renovation. Unfortunately, things spiraled radically out of control and before I knew what was happening, most of the house was torn up and I was committed to the next phase of the renovation. All told, it took from March until November 2003. It's the last time that I will ever embark upon a major renovation of the house that I'm living in without hiring a real, reputable, honest-to-God general contractor. | |
The House Interior, Before and After Renovation | |
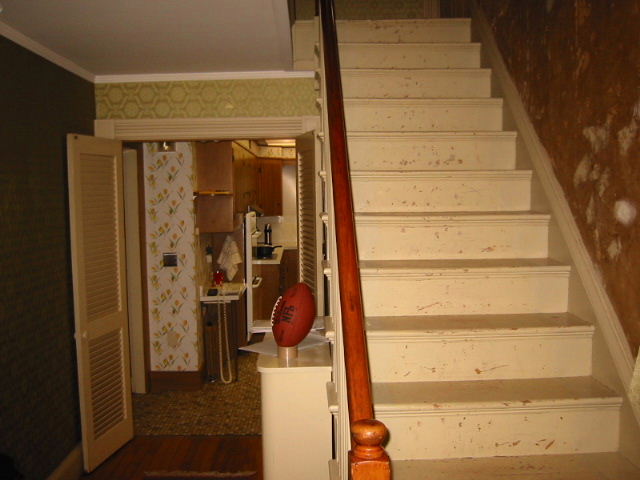
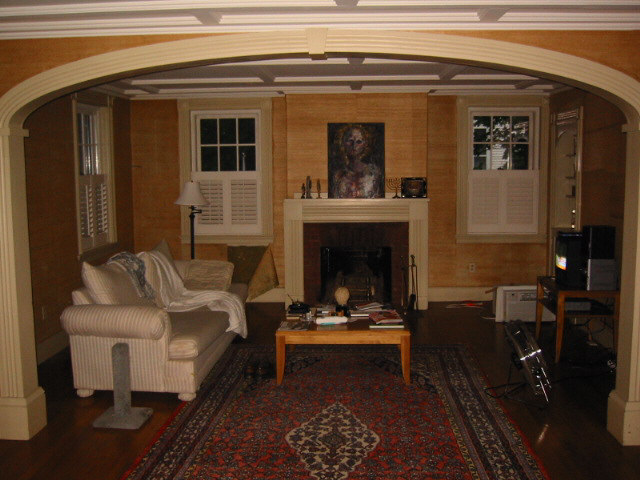
| March 2002 | November 2003 (or later) |
 |
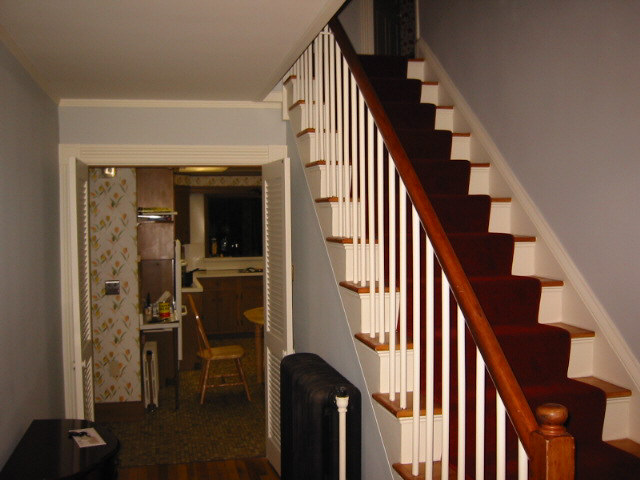 |
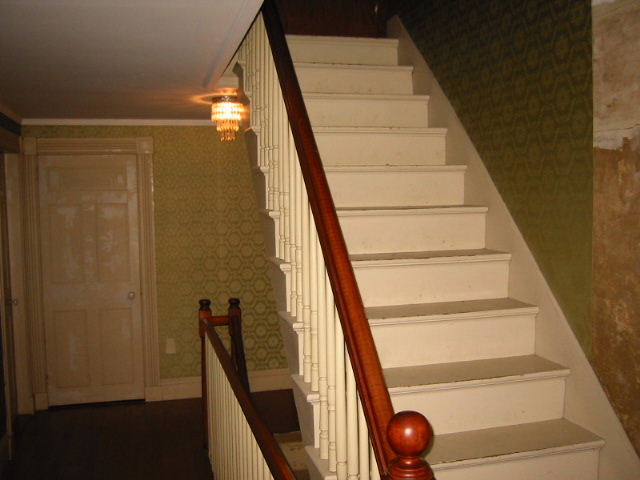
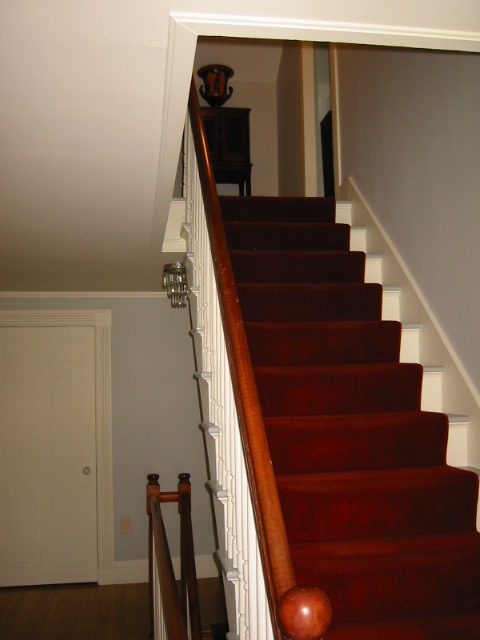
| Note the peeling green wallpaper and painted stair treads. | The walls painted Sterling (Benjamin Moore), the trim is Dover White (Sherwin Williams) and the radiator has been polished with stove black. |
 |
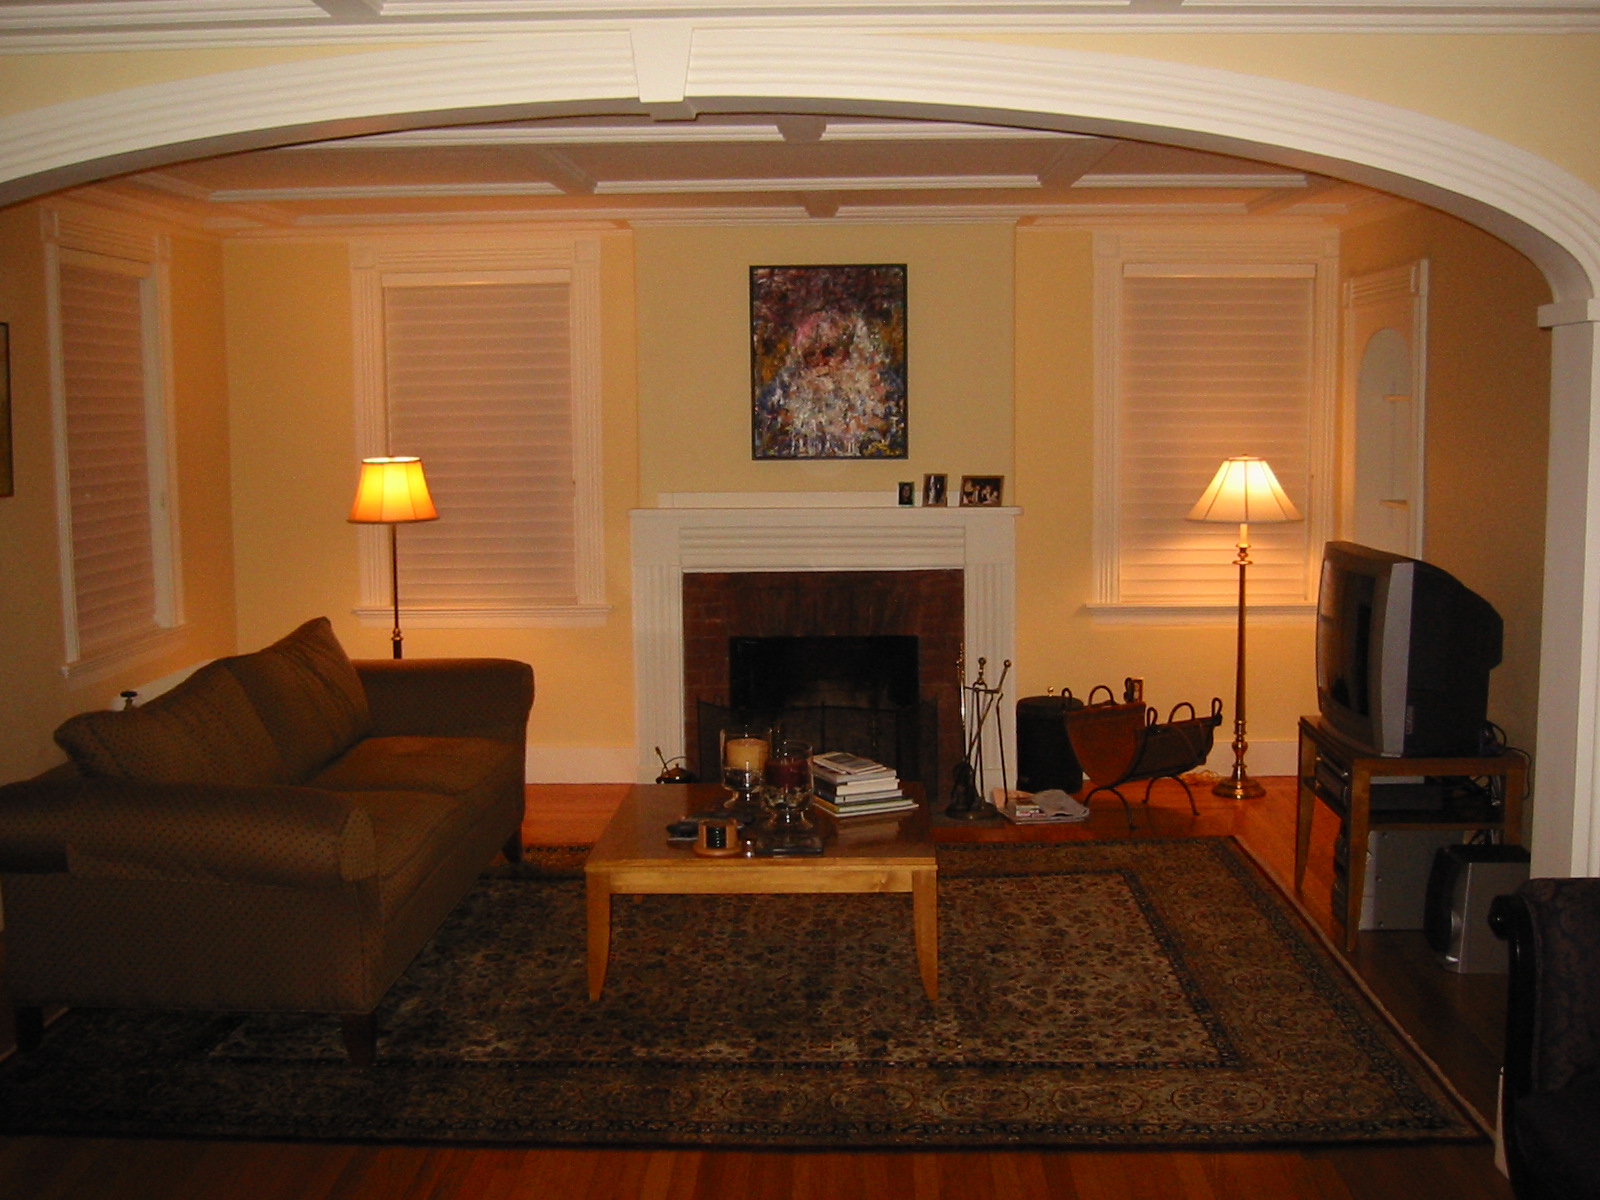 |
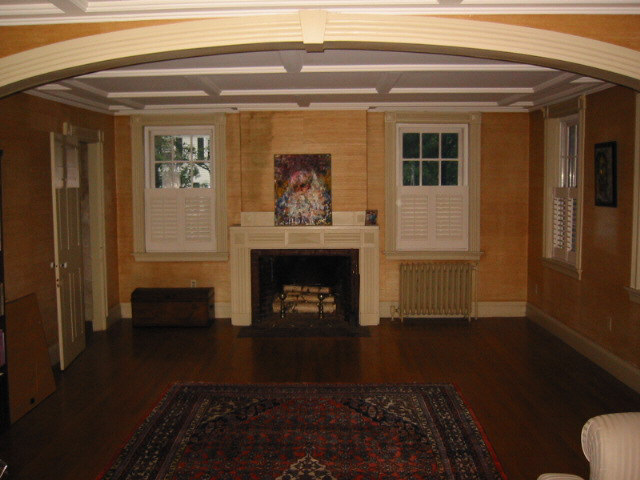
| The north side of the great room. Note the fading and peeling Japanese grass wallpaper. | The same side of the room painted Philadelphia Cream (Benjamin Moore), with Dover White trim. |
 |
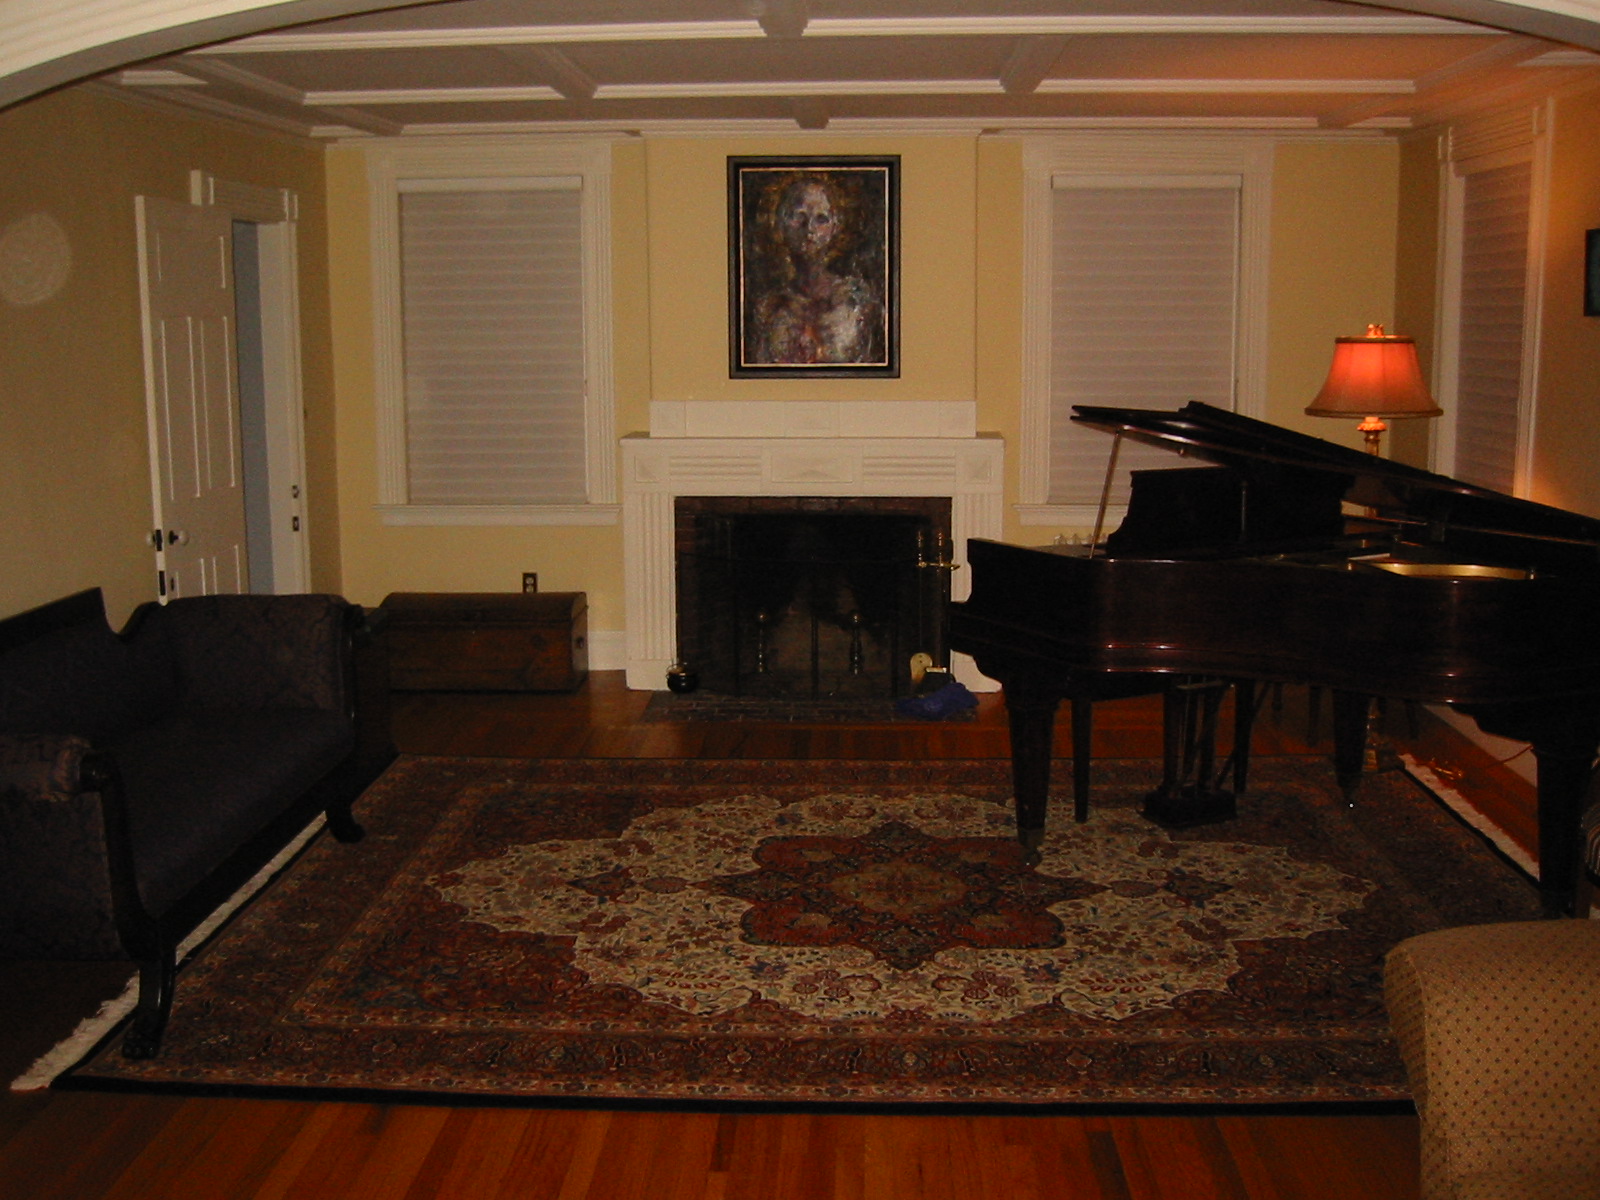 |
| Note the plastic Indian shutters, which I later removed. | The piano is a 5'8" Weber from the 1920s. |
 |
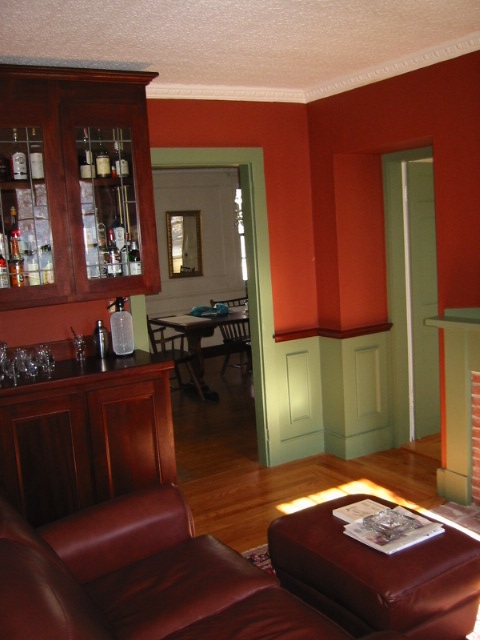 |
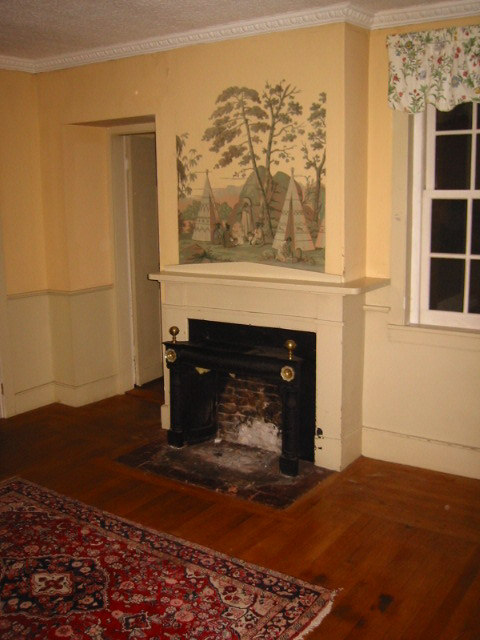
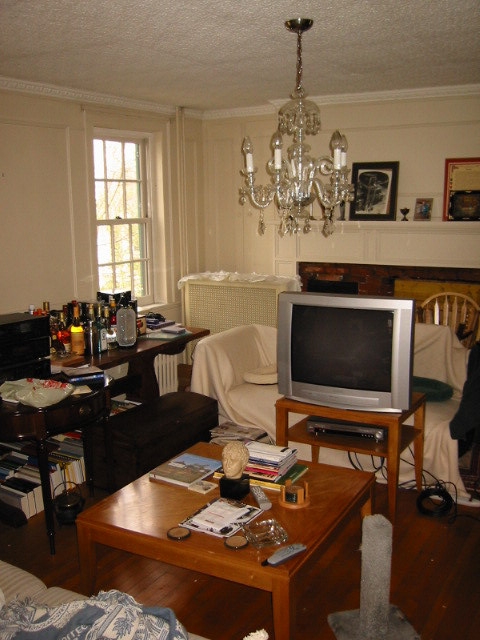
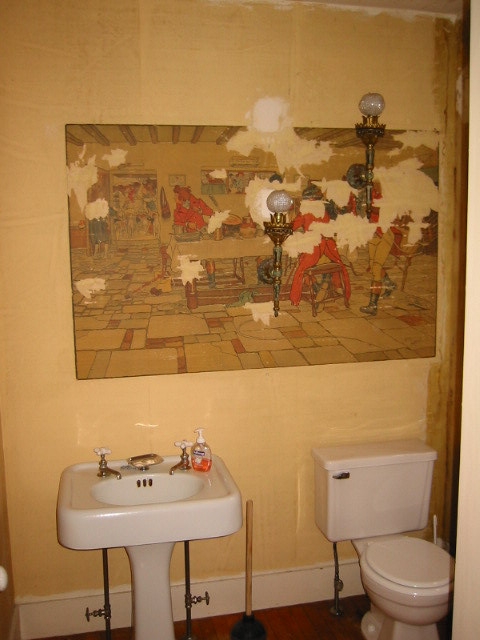
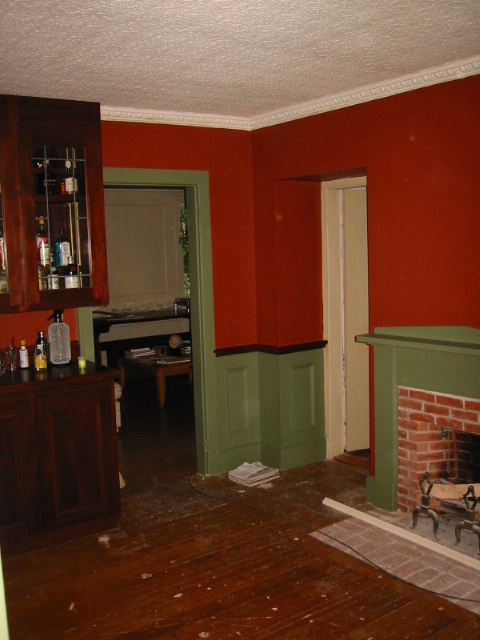
| The den, to the right of the entryway. Note the Victorian firebox and mural. | The den (rechristened the "Club Room") post-renovation with custom mahogany liquor cabinet and new Rumsford fireplace (not visible). |
 |
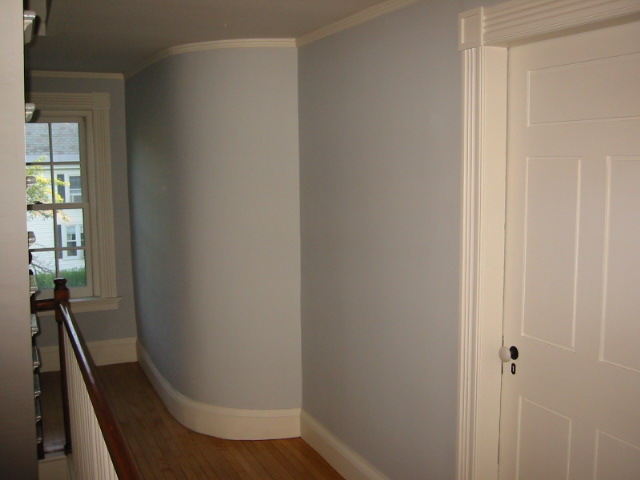 |
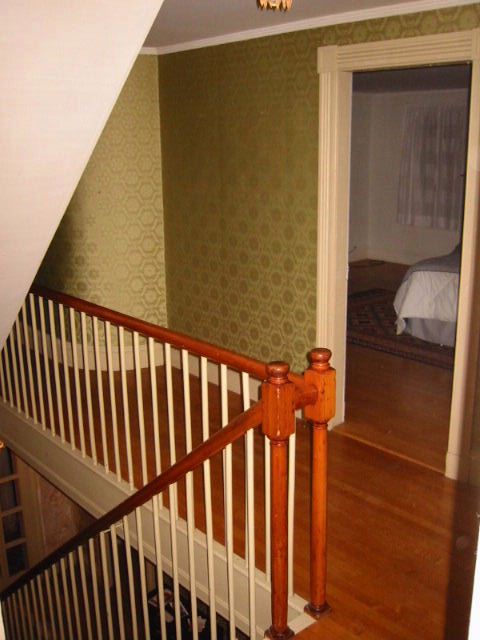
| The second-floor hall with wallpaper. | And now with paint. Including one of seven stripped and re-painted doors! |
 |
 |
| Stairs to the attic. Note the plywood trap-door at the top. | The trap door is removed, so the staircase leads right into the renovated attic. |
 |
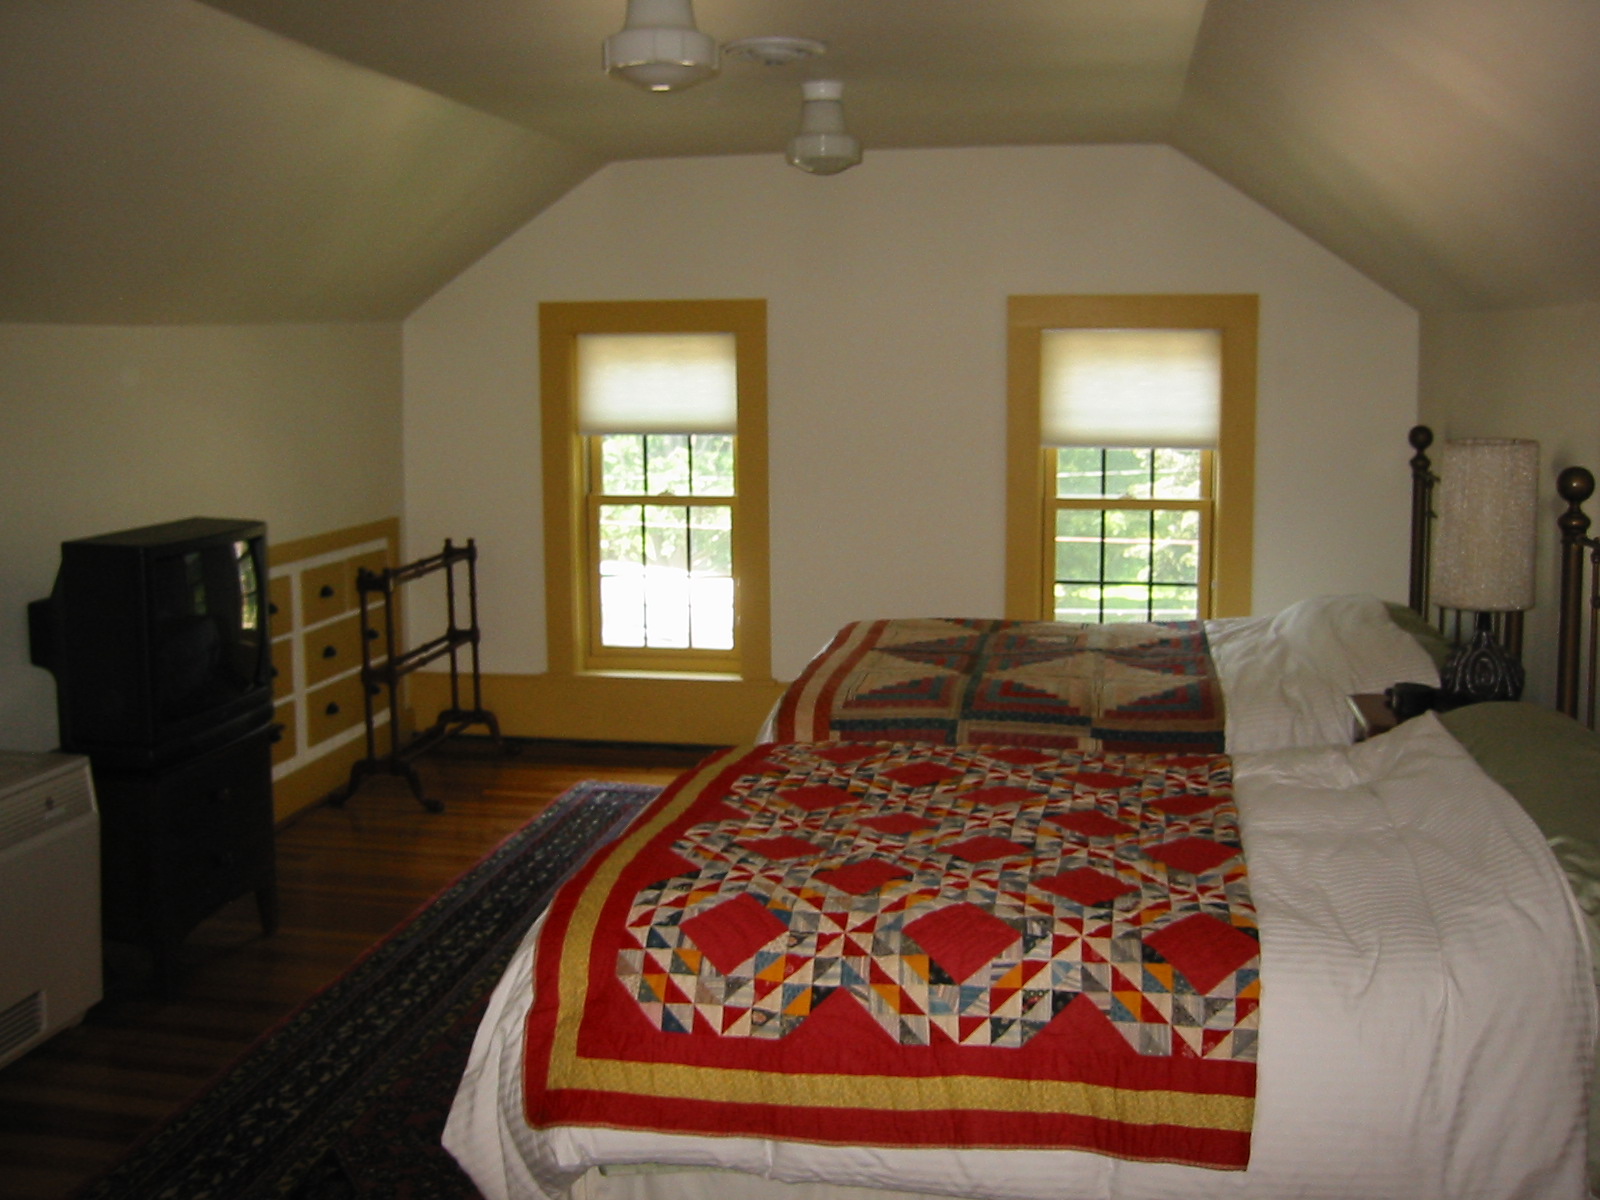 |
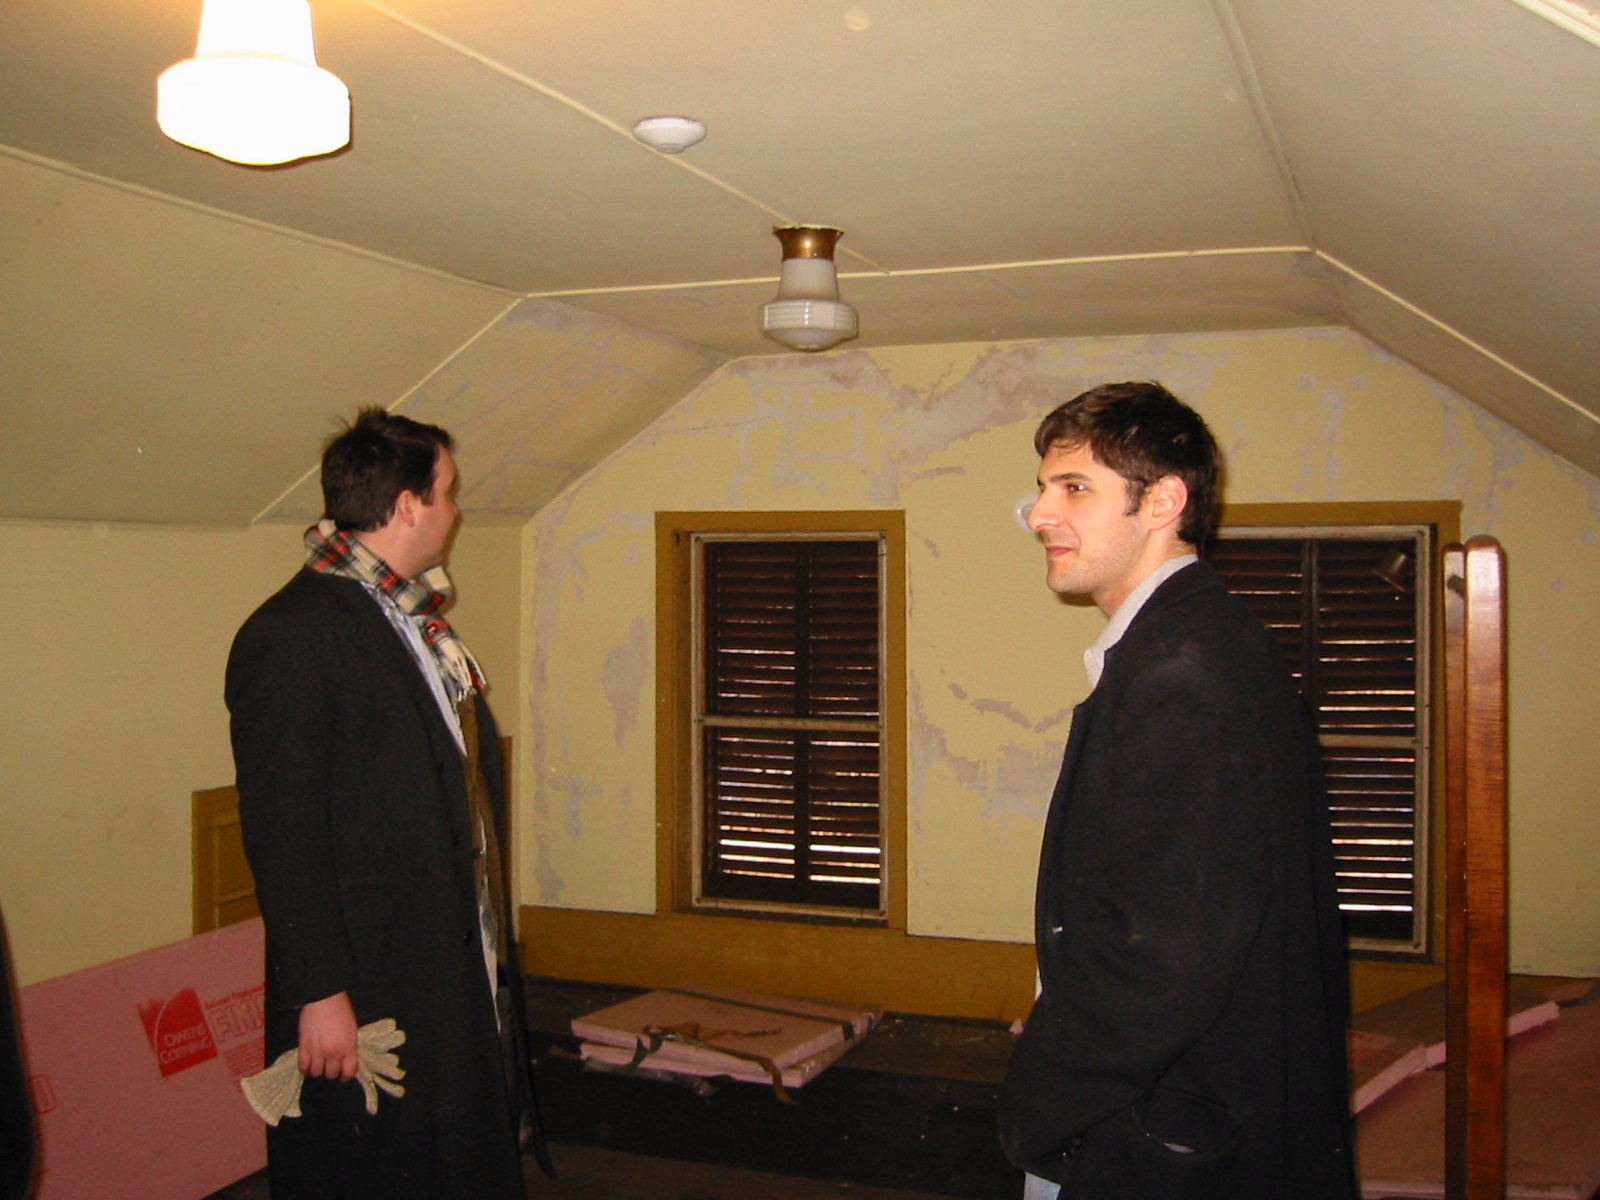
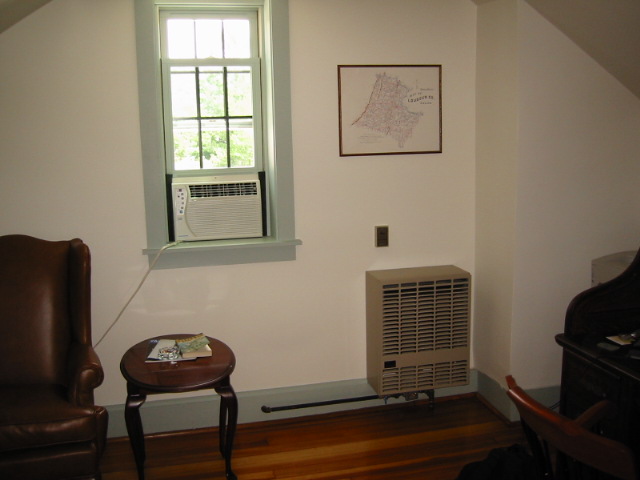
| A photo of the attic on move-in day. There are no windows in the frames. | The same room after renovations. Note the new windows and gas heater on the left. |
 |
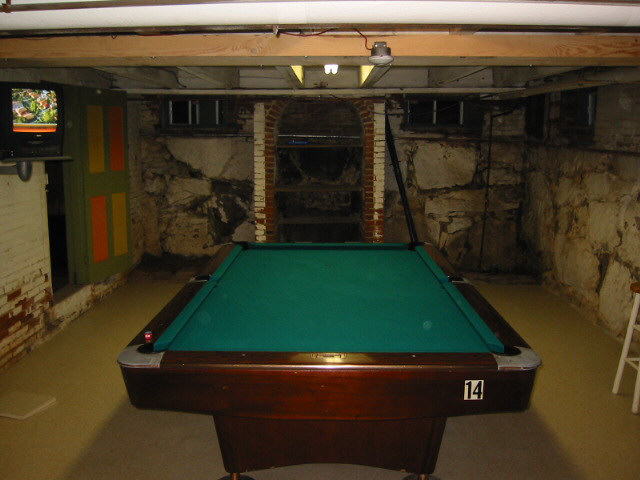 |
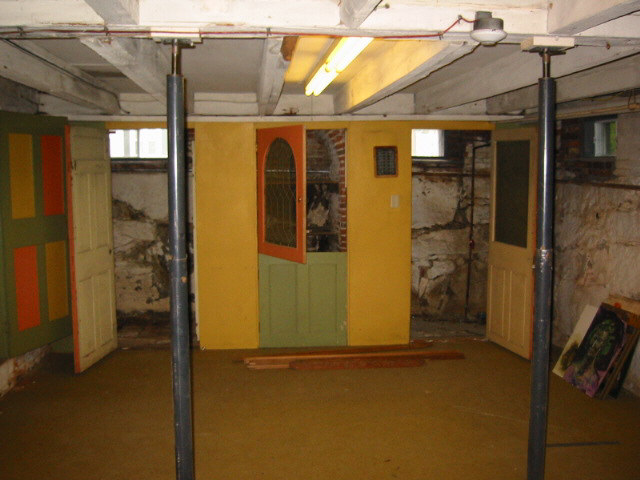
| The game room in the basement, after installing the new foundation windows. | The game room, after installing a new center span support, vinyl composite flooring and 9' Brusnwick Crown Royal pool table. |
 |
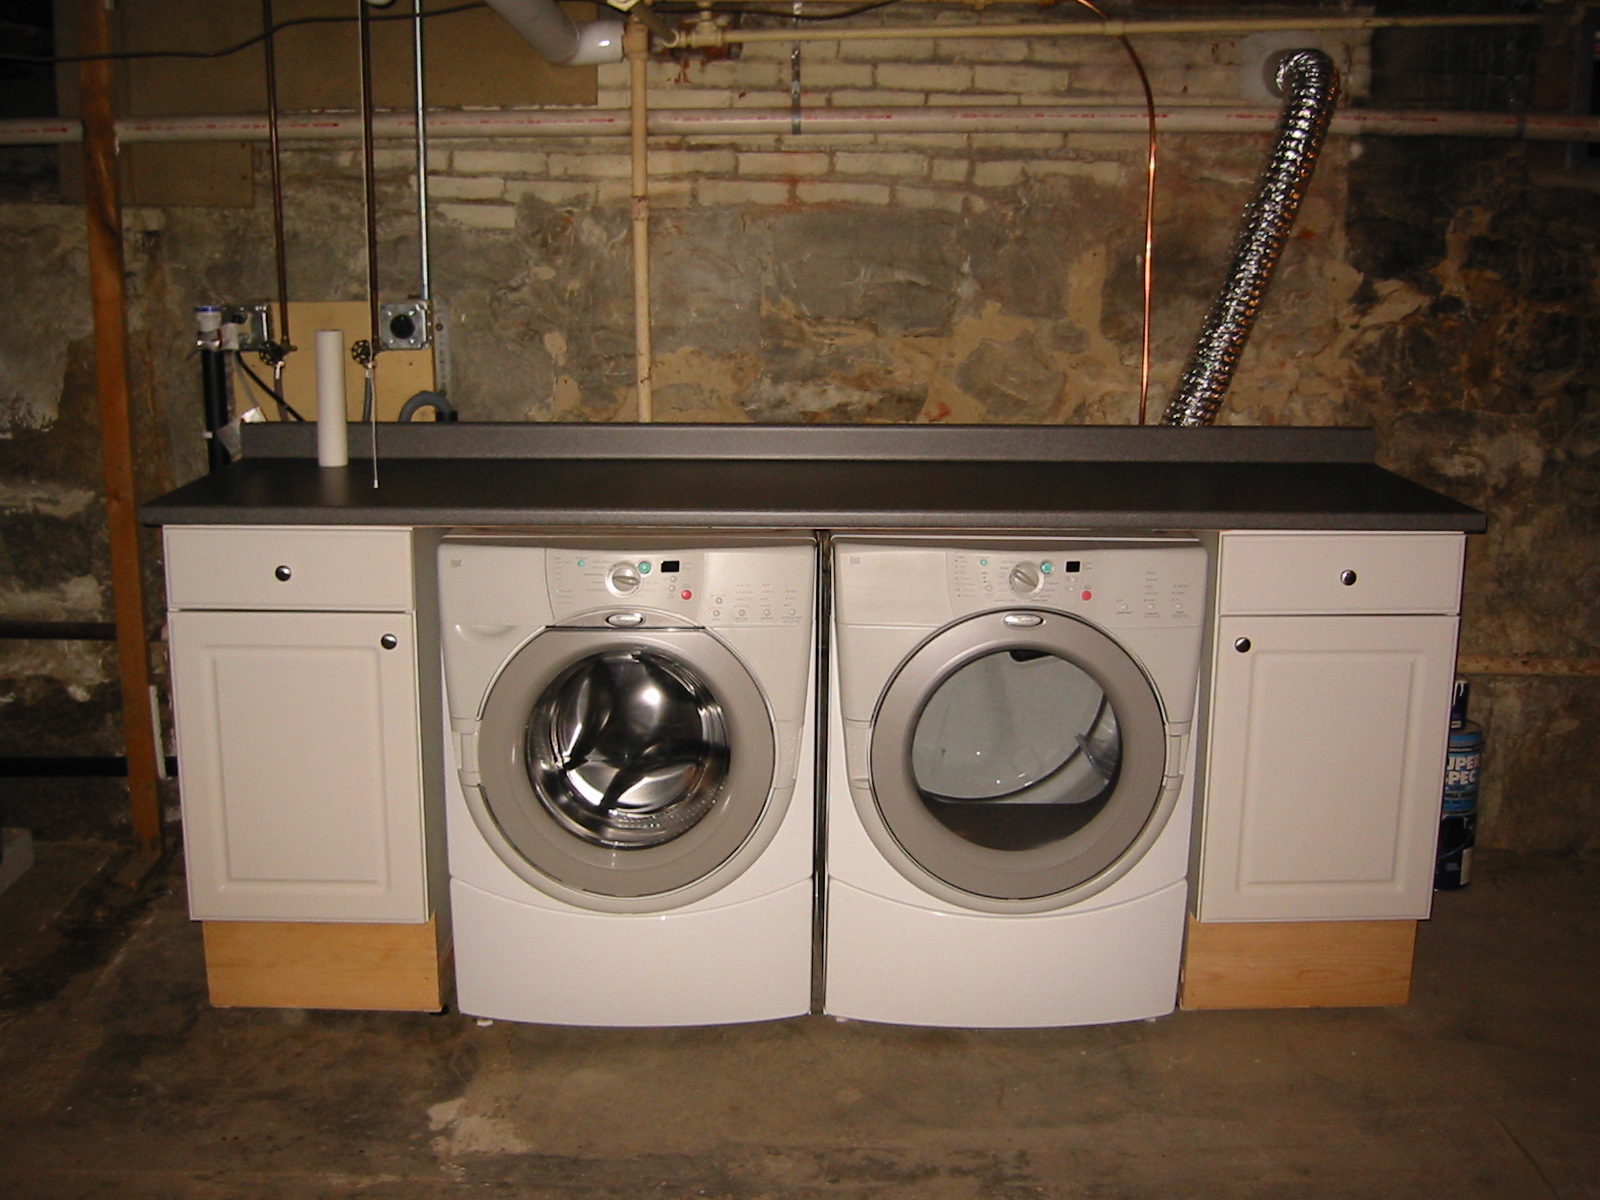 |
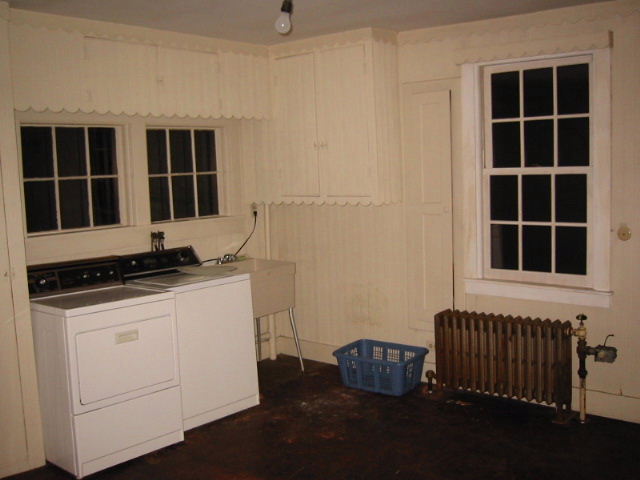
| The laundry room was in the ell when I bought the house. | We moved it back into the basement, where the laundry chute ends! I built the countertop using stock cabinets on top of leveling platforms that I made using 2x4s and plywood. |
Other ImprovementsI just don't have a before photo for everything... | |
 |
 |
| This is my office, which is across from the other attic room (for which I do have a pre-photo). The opening had been boarded up, and was re-created to accommodate the window. | A better view of my "new" desk, which is probably 100 years old. |
 |
 |
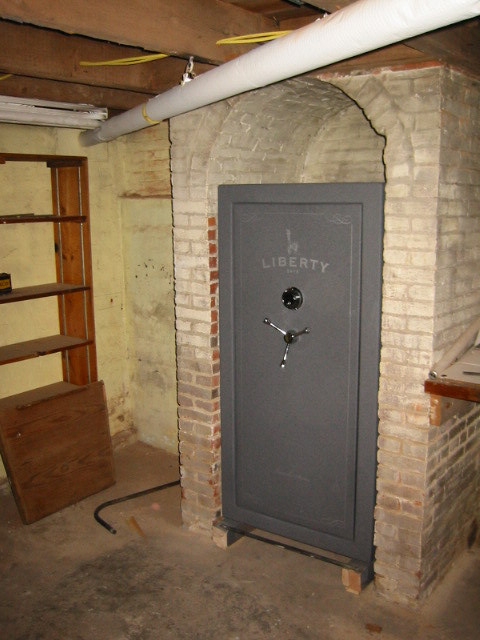
| I ordered a gun safe that fits perfectly in the fireplace foundation beneath the club room. | Yes, I simply had to install a urinal in the pool room. No, Allison was not happy about it. |
Later ImprovementsIn April 2006, we had two guest rooms re-painted to prepare for the arrival of the baby. | |
| March 2002 | May 2006 |
 |
 |
| This room was in the best condition of all the rooms in the house when I purchased it. Unfortunately, I no longer have full-size "before" photos for these rooms. | The walls are painted Nantucket Grey (Benjamin Moore), the trim is Dover White (SWP). Now we can call it the "green room", or alternatively, the "country french room" (on account of the decor). |
 |
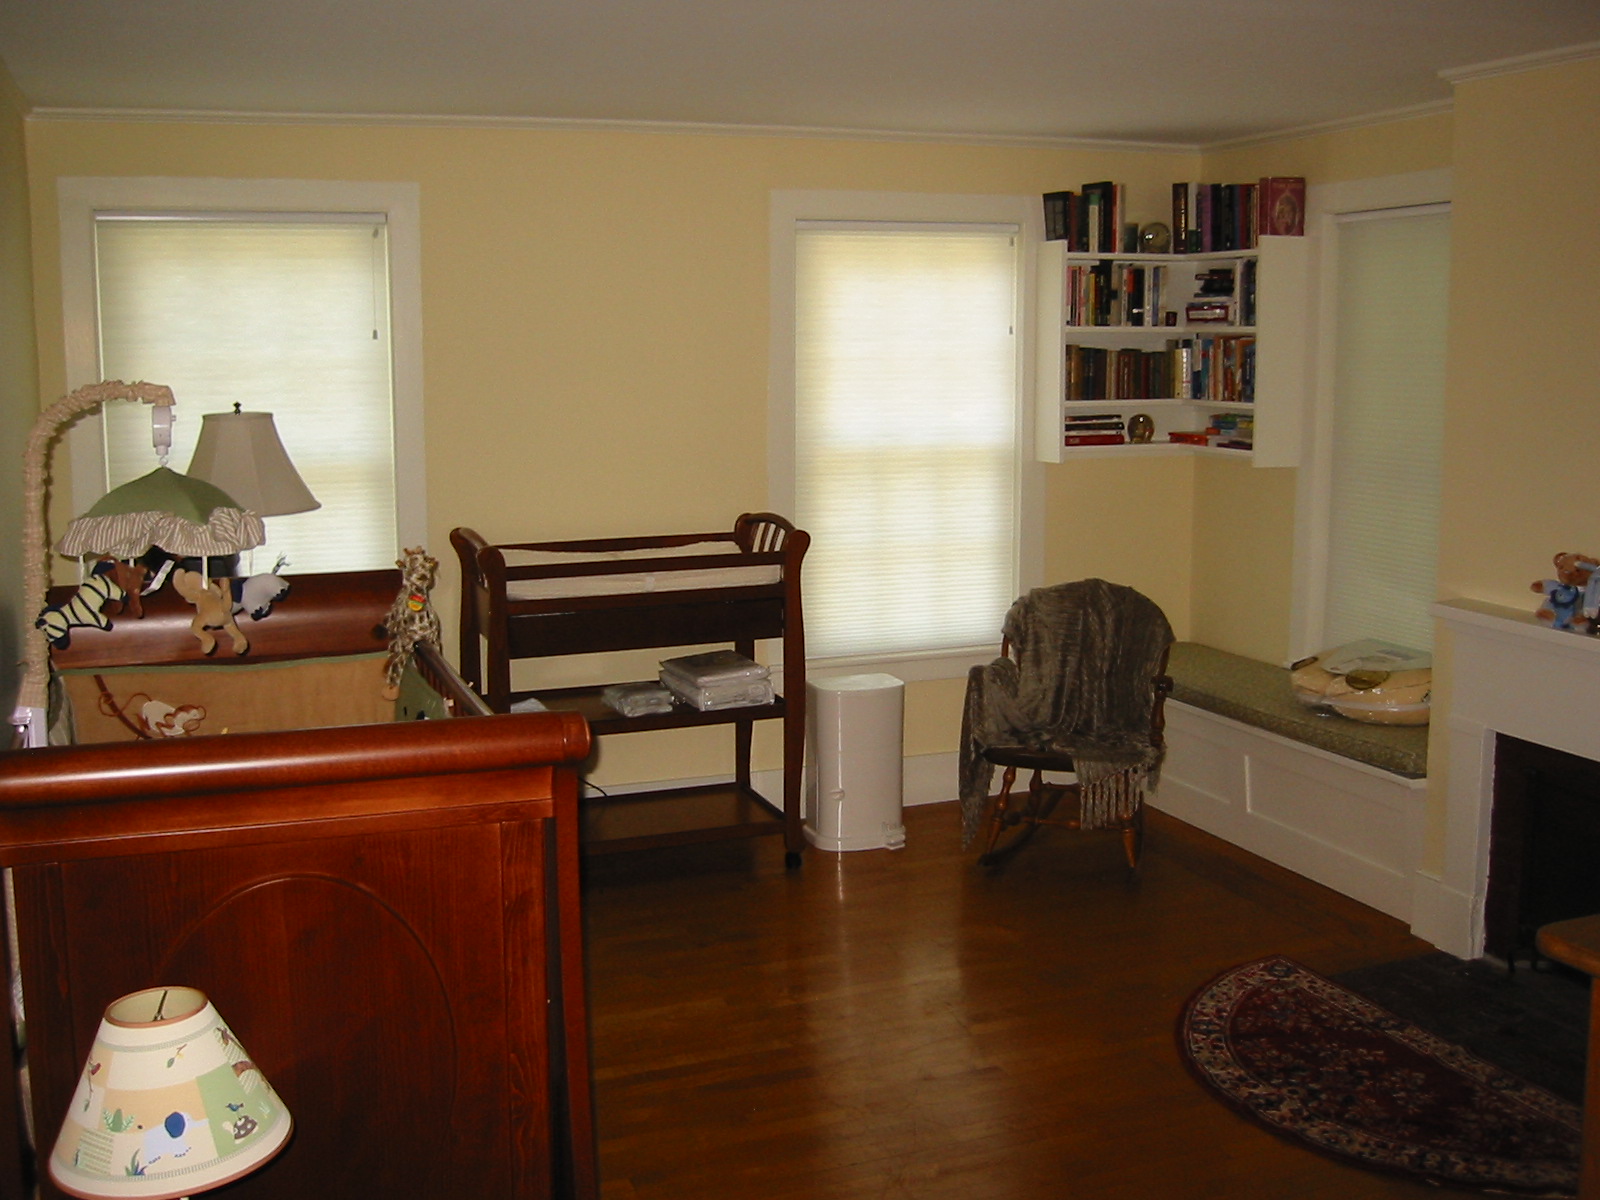 |
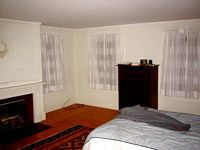
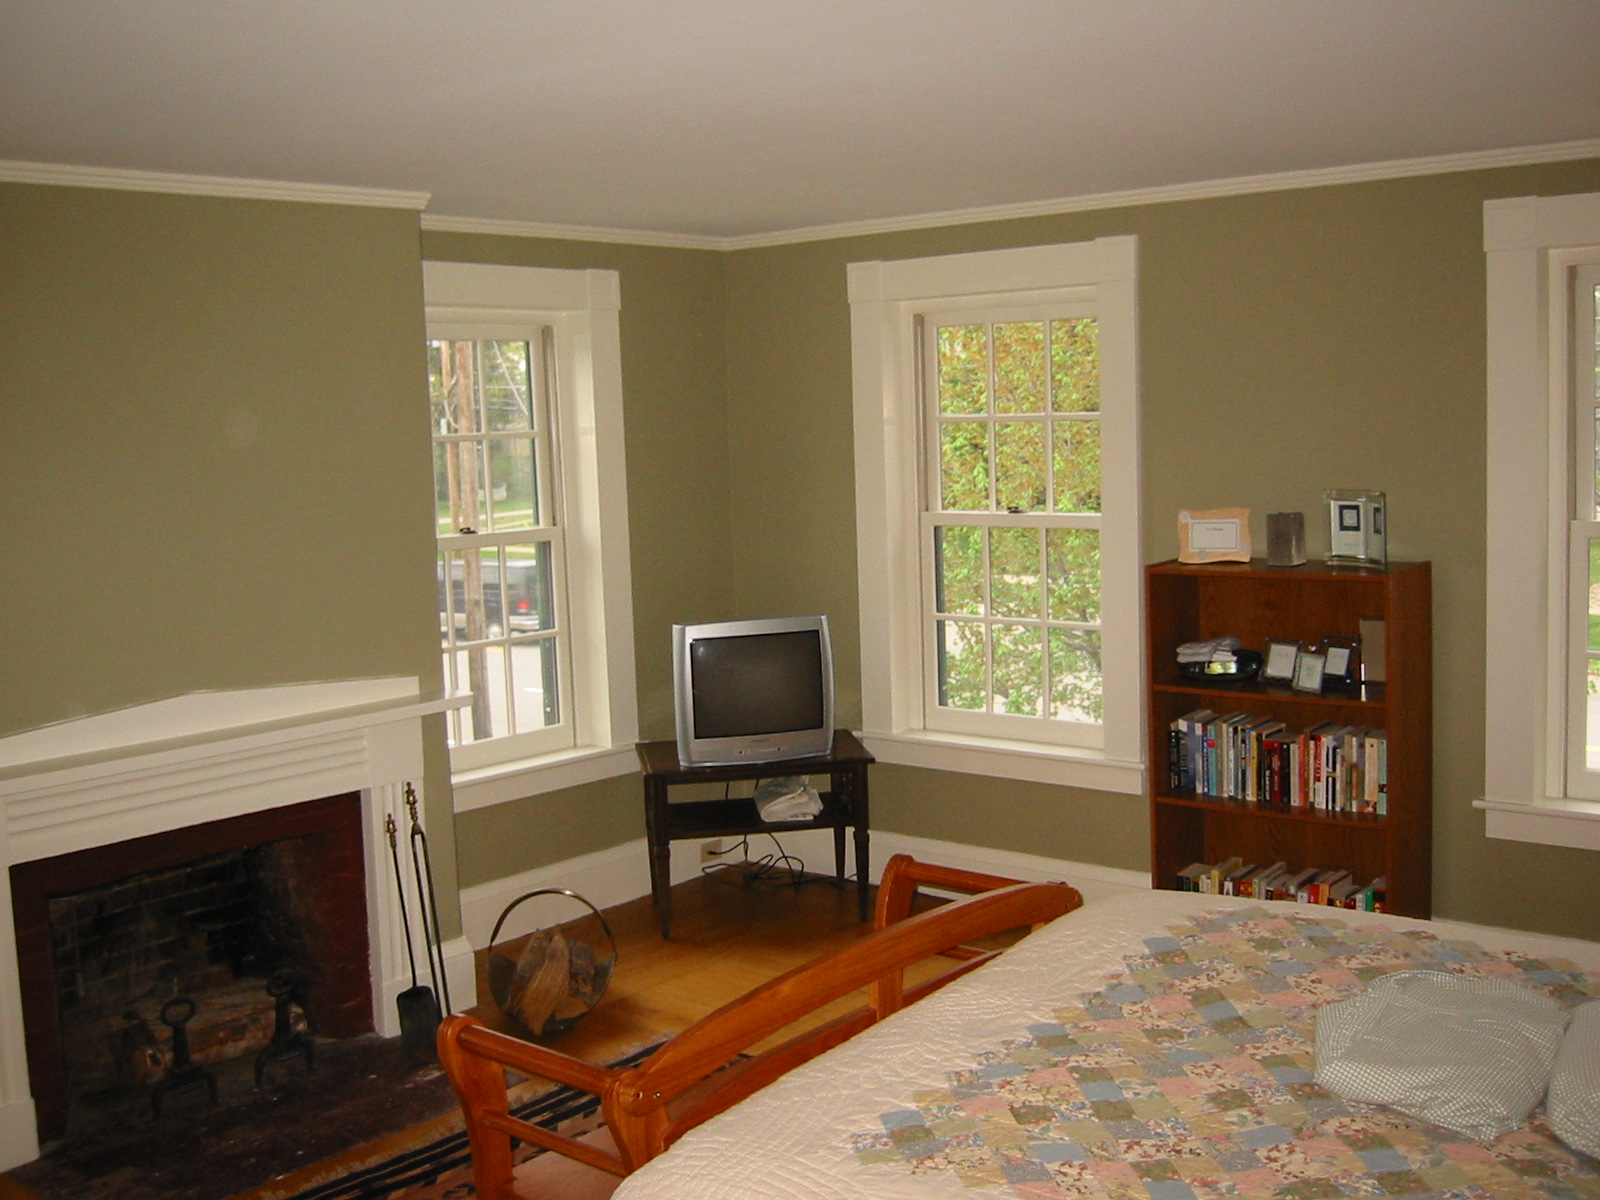
| The north bedroom, featuring atrocious wallpaper. | The same room reconfigured as a nursery, painted Windham Cream (Benjamin Moore) with Dover White trim. |
Construction Photos | |
 |
 |
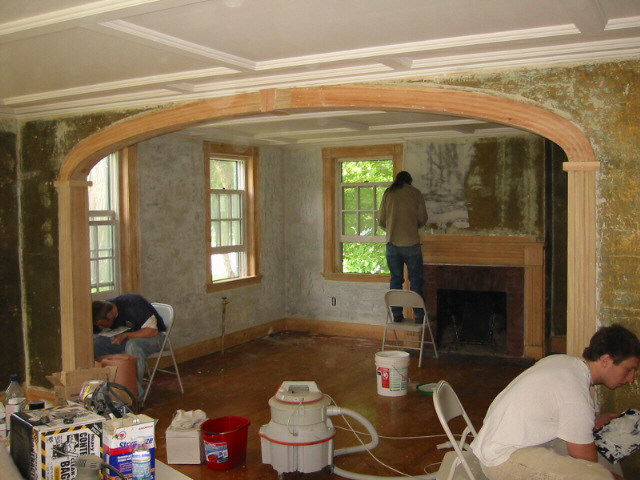
| Tra and Brendan (a kid we hired from Keene State to help out) working in the living room. | The dining room became our temporary living quarters during the extensive interior renovation. |
 |
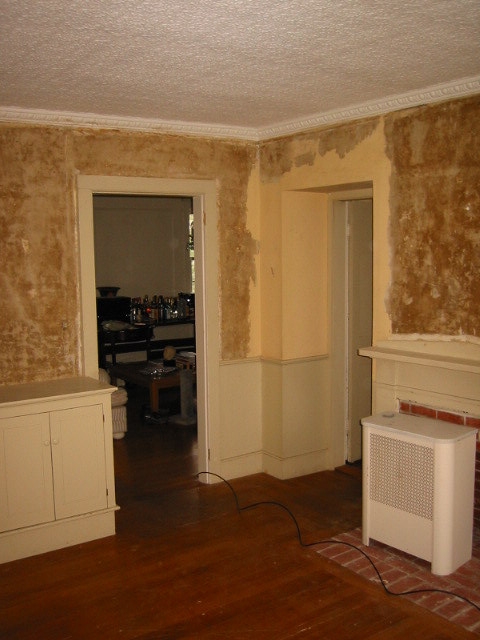 |
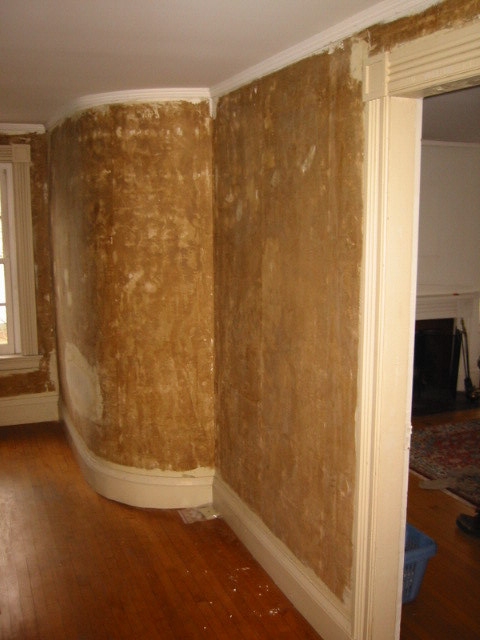
| You can uncover some pretty weird stuff when you strip wallpaper. | The den looks much better with that horrid Pilgrim scene removed. |
 |
 |
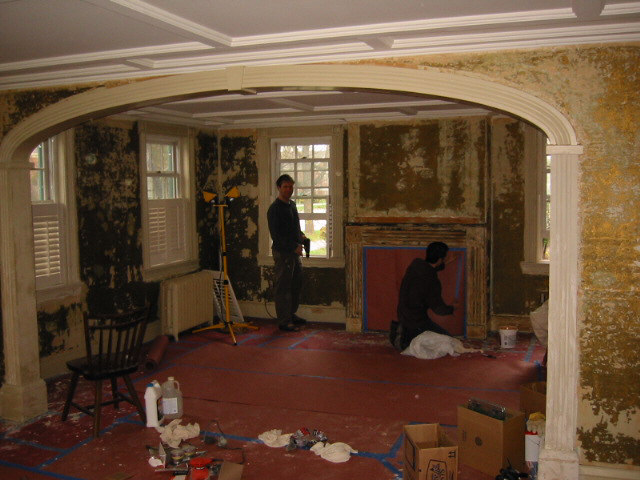
| The hallway with wallpaper removed. | Wallpaper was removed from the master bedroom, but we just left it that way until we started the renovation of the ell. |
 |
 |
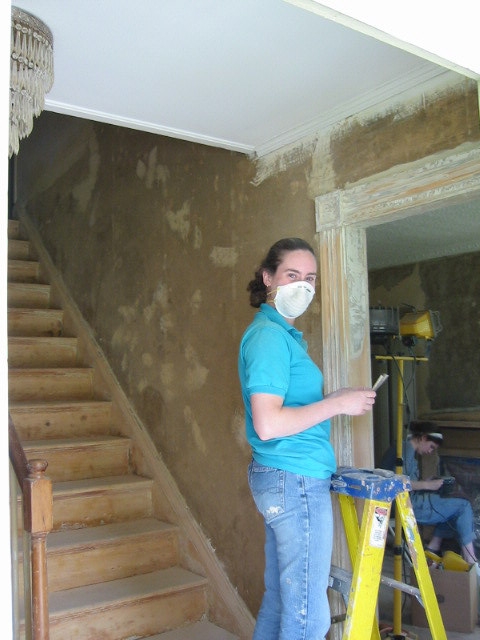
| Kate, in the foreground, stripping paint in the hallway. Kathy-Lee is working on the mantle in the background. | Stripping paint off of moldings in the Den. |
 |
 |
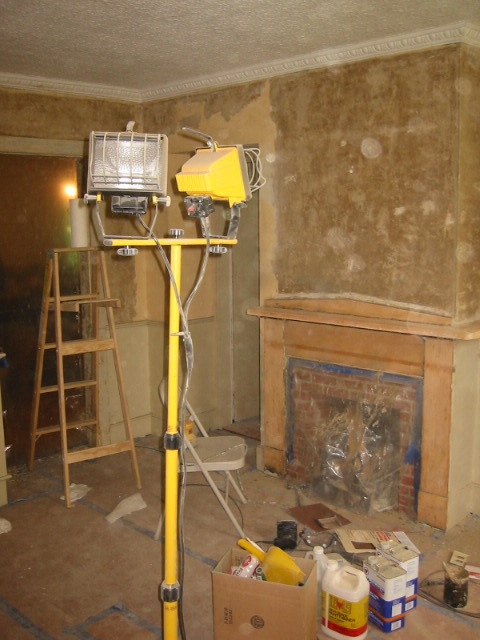
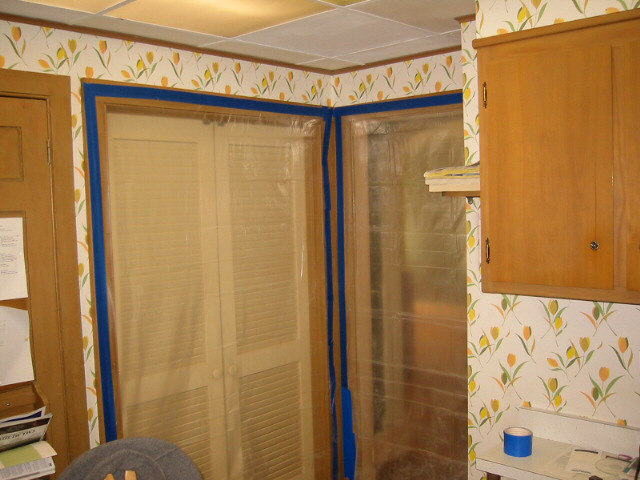
| For the sake of comfort, it is imperative to seal work areas off from living areas with plastic! | Having stripped the moldings down to bare wood, we begin skim-coating the plaster walls to prepare for painting. |
 |
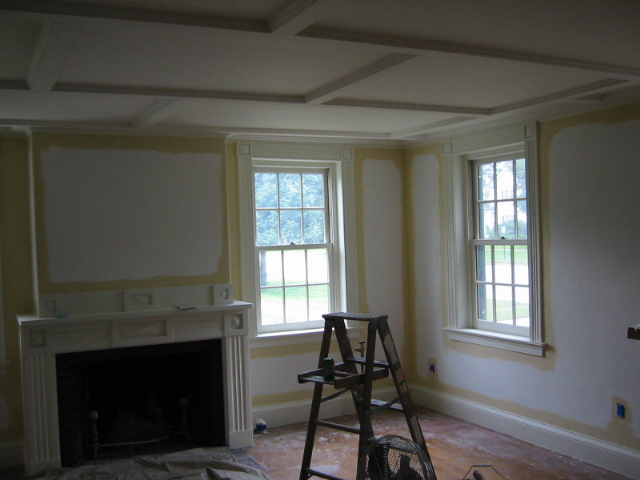 |
| The living room as it appeared prepped for painting. | The corners cut in the living room. |
 |
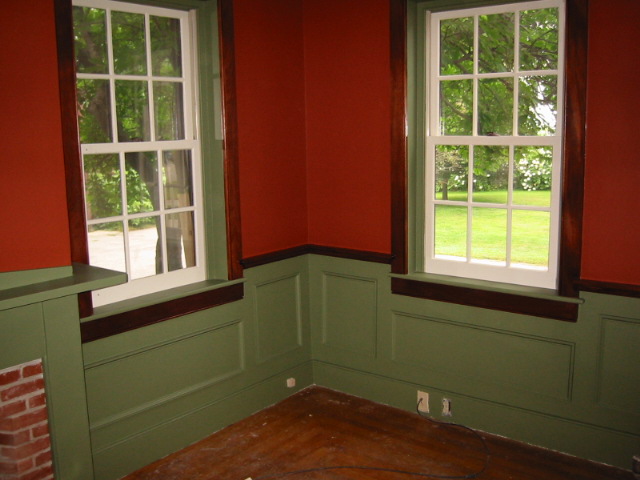 |
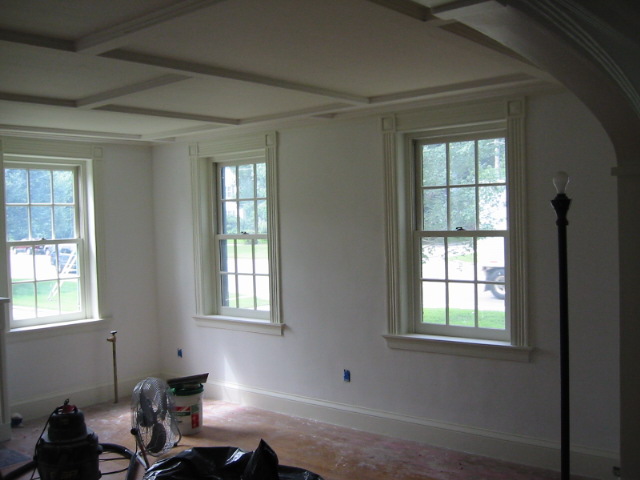
| The den windows after the walls have been prepped for paint. | The den windows after painting and finishing. |
 |
 |
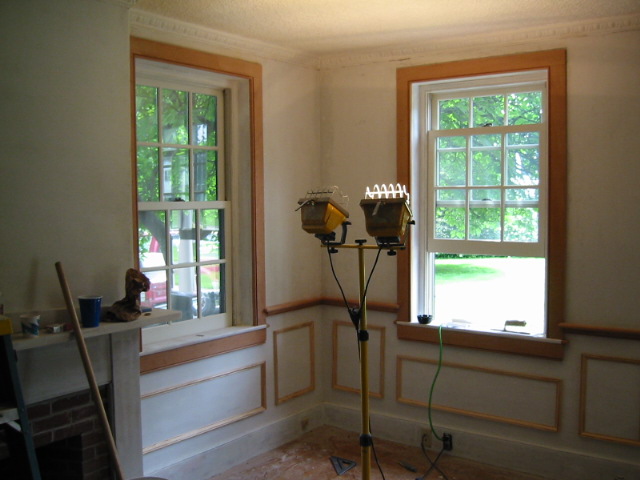
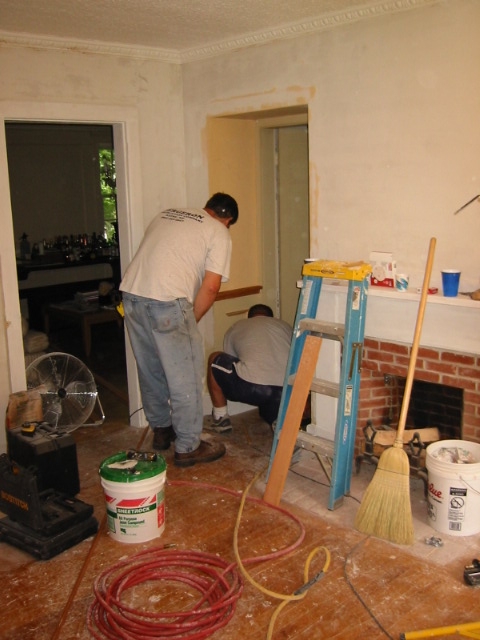
| The carpenters affix the mahogany chair rail and faux wainscot paneling trim. | The same corner after painting and finishing, with the new bar installed. |
 |
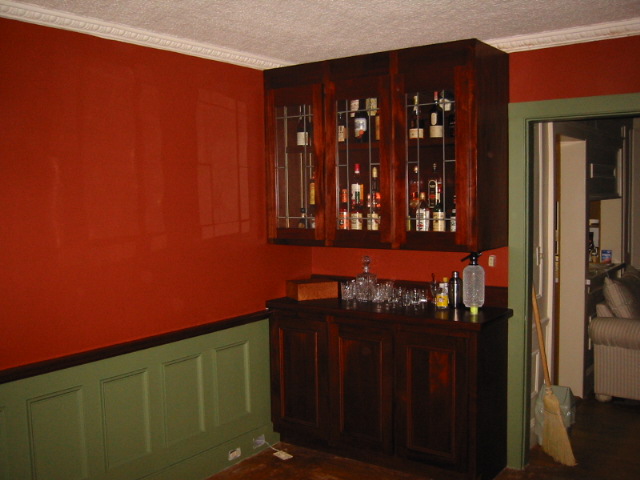 |
| The old cabinet has been ripped out. | The new mahogany bar is installed, the room is painted, and the liquor cabinet is stocked! |